
Capturing reflections on shiny surfaces can elevate your photography, adding depth and visual interest to your shots. Whether you’re photographing products, art, or any reflective object, mastering the technique can make a significant difference. Here’s a step-by-step guide to help you achieve perfect reflections:

1. Clean the Surface
Before you start shooting, ensure the surface is clean and free from dust or smudges. Any imperfections can interfere with the clarity of the reflection, so take the time to wipe down the surface thoroughly.

2. Use a Tripod
Stability is key in reflection photography. Using a tripod helps keep your camera steady, reducing the risk of blurriness and ensuring sharp, clear reflections. Adjust the tripod to your desired height and angle and lock it in place to avoid any movement.

3. Adjust Your Angle
The angle at which you shoot plays a crucial role in capturing reflections. Experiment with different angles to find the one that best highlights the reflection. Sometimes, a slight adjustment can make a significant difference in how the reflection appears in your shot.
4. Play with Lighting
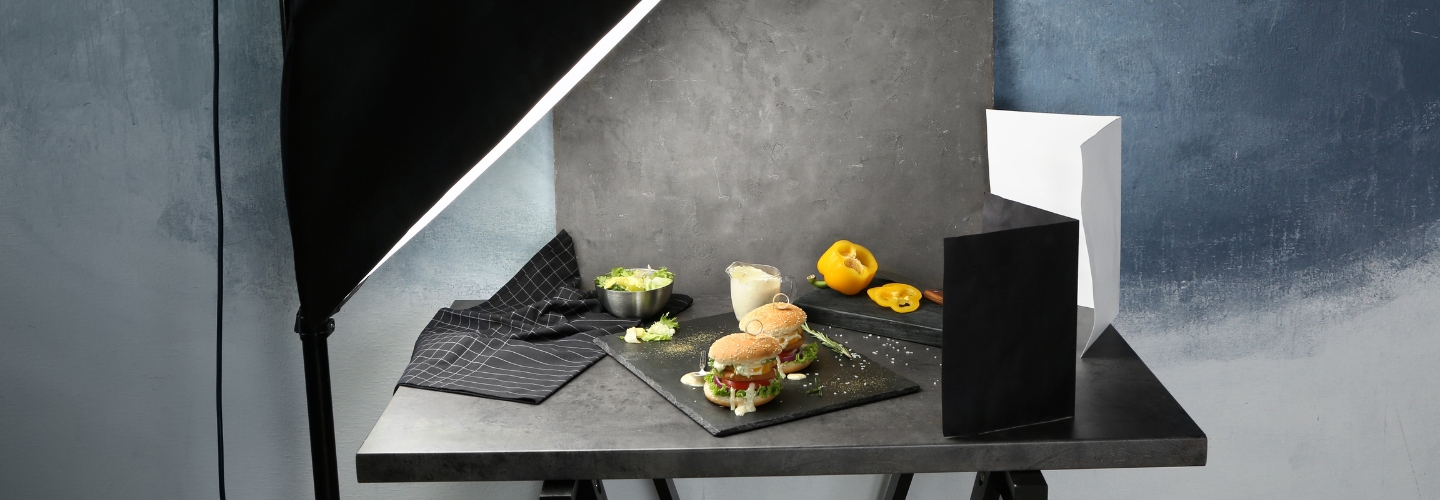
Lighting can dramatically impact the quality of reflections. Position your light sources at various angles to enhance the reflection and minimize unwanted glare. Soft, diffused lighting often works well to create smooth, even reflections. Consider using a lightbox or diffusers to achieve the desired effect.
5. Edit Smartly
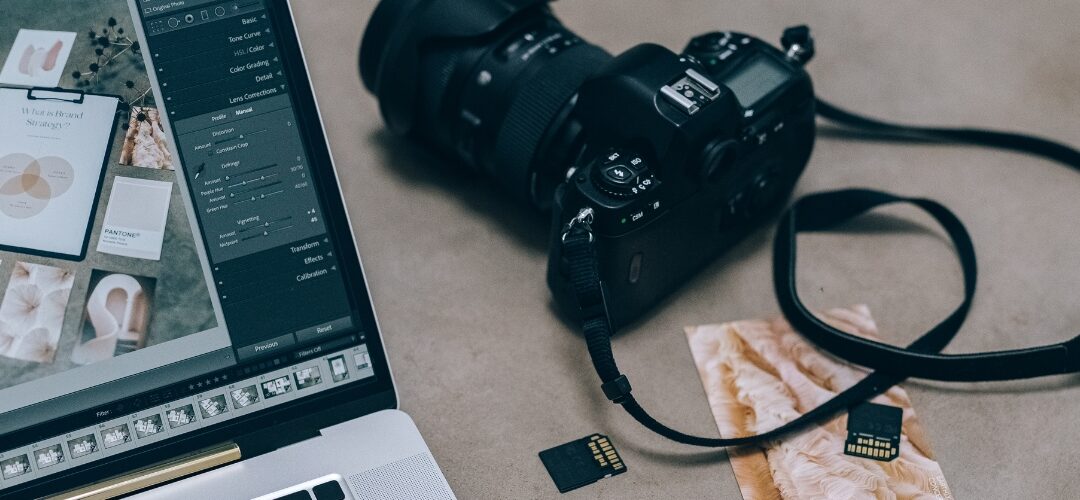
Once you’ve captured your shot, use photo editing software to fine-tune the reflections. Adjust brightness, contrast, and sharpness to enhance the details. Editing tools can also help you remove any unwanted glare or imperfections, making your reflections look even more striking.
Conclusion
Mastering the art of photographing items on shiny surfaces involves a combination of cleanliness, stability, angle experimentation, lighting adjustments, and thoughtful editing. By following these tips, you can capture stunning reflections that add a professional touch to your images.