

How to Photograph Shiny and Reflective Objects: A Comprehensive Guide
Photographing shiny and reflective objects can be a challenging yet rewarding aspect of photography. Whether you’re capturing jewelry, glassware, metallic surfaces, or other reflective items, mastering the techniques to control reflections, manage light, and showcase the object’s beauty is essential. This detailed guide will walk you through methods and tips to help you effectively photograph shiny and reflective objects.
Introduction to Reflective Object Photography
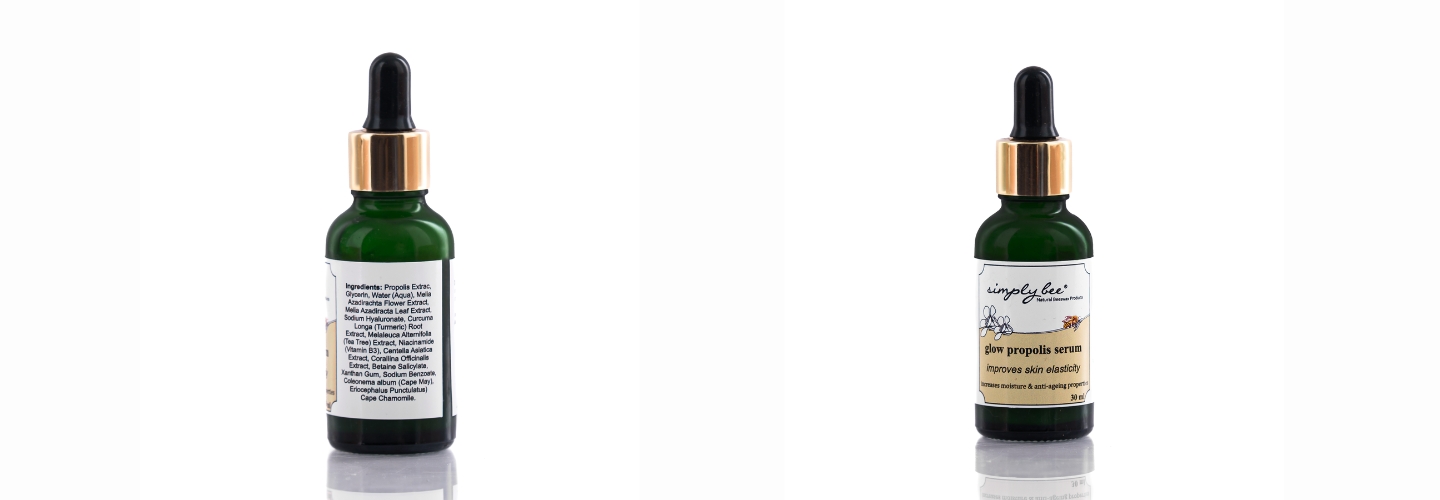
Shiny and reflective objects pose unique challenges due to their ability to reflect light and surroundings, which can lead to unwanted glare, reflections, and highlights. These issues can detract from the subject and result in less appealing images. The goal in photographing reflective objects is to capture their essence, texture, and details while minimizing undesirable reflections.
1. Understanding the Nature of Reflections
To effectively photograph reflective objects, it’s crucial to understand how reflections work:
- Angle of Incidence Equals Angle of Reflection: The angle at which light hits a reflective surface is the same angle at which it reflects. This principle helps in predicting and controlling reflections.
- Diffuse vs. Specular Reflections: Diffuse reflections scatter light in multiple directions, while specular reflections create sharp, mirror-like reflections. Managing these reflections is key to achieving clear images.
2. Choosing the Right Equipment
The right tools can significantly impact your ability to photograph reflective objects. Essential equipment includes:
- Camera: A DSLR or mirrorless camera with manual controls for precise adjustments.
- Lenses: Macro lenses are ideal for small items like jewelry, while standard or telephoto lenses work for larger objects.
- Tripod: A sturdy tripod ensures stability and sharpness, especially for longer exposures.
- Polarising Filter: Reduces glare and reflections from non-metallic surfaces, enhancing color saturation and contrast.
- Light Tent or Box: Diffuses light evenly around the object, reducing harsh reflections and shadows.
- Reflectors and Diffusers: Control and soften light to minimize unwanted reflections.
3. Setting Up the Studio
Creating the right environment is crucial for controlling reflections:
- Background: Use a non-reflective, neutral background like black, white, or grey to avoid distracting reflections.
- Lighting: Position lights strategically to minimize reflections. Soft, diffused lighting works best for reflective objects, while direct light can create harsh reflections.
- Light Placement: Place lights at an angle to the object rather than directly in front to help control reflections and highlights.
4. Using a Light Tent or Box
A light tent or box is an essential tool for photographing reflective objects:
- Place the Object Inside: Position the object in the center of the light tent or box.
- Add Lighting: Place lights on either side of the tent to create soft, even lighting. You can also place a light above for additional illumination.
- Adjust Angles: Move the lights and object to find the best angles that minimize reflections and highlight the object’s features.

5. Controlling Reflections with Polarising Filters
Polarising filters are effective in reducing reflections and glare:
- Attach the Filter: Screw the polarising filter onto your lens.
- Rotate the Filter: Rotate the filter while looking through the viewfinder or LCD screen to see reflections and glare diminish.
- Adjust Settings: Use manual settings to adjust exposure and compensate for the reduced light entering the lens due to the filter.
6. Managing Reflections with Diffusers and Reflectors
Diffusers and reflectors help control and soften light:
- Diffusers: Place diffusers between the light source and the object to soften light. Use professional diffusers or DIY options like white sheets or tracing paper.
- Reflectors: Bounce light onto the object with reflectors to fill in shadows and highlight details. Silver, white, and gold reflectors each create different effects.
7. Achieving the Right Exposure
Proper exposure is crucial for capturing reflective objects accurately:
- Manual Mode: Use manual mode to control shutter speed, aperture, and ISO settings precisely.
- Aperture: Use a smaller aperture (higher f-stop) for greater depth of field, ensuring the entire object is in focus.
- Shutter Speed: Adjust shutter speed to control exposure. Longer exposures may be needed in low light but require a tripod to prevent blur.
- ISO: Keep ISO low to minimize noise. Increase ISO only if additional light is needed.

8. Dealing with Hot Spots and Highlights
Hot spots and highlights are common with reflective objects:
- Use Diffused Lighting: Soft, diffused lighting helps spread light evenly, reducing hot spots.
- Adjust Light Position: Move lights to different angles to minimize direct reflections.
- Edit in Post-Processing: Use software like Adobe Lightroom or Photoshop to reduce highlights and recover details in overexposed areas.
9. Composition and Angles
The composition and angles of your shot impact the final image:
- Angles: Experiment with different angles to find the most flattering perspective. Shooting from slightly above or below the object can reduce reflections.
- Framing: Ensure the object is well-framed with enough space around it to avoid cropping in post-processing.
- Background: Choose a background that complements the object without causing distractions or unwanted reflections.
10. Post-Processing Techniques
Post-processing can refine images of reflective objects:
- Adjust Exposure: Fine-tune exposure settings to balance highlights and shadows.
- Reduce Noise: Use noise reduction tools to minimize graininess, especially in low-light conditions.
- Clone and Heal: Remove unwanted reflections and blemishes using cloning and healing tools.
- Sharpening: Apply selective sharpening to enhance details without increasing noise.
11. Practical Tips for Specific Objects
Different reflective objects require unique approaches:
- Jewelry: Use macro lenses for close-ups and a light tent to diffuse light. Focus on highlighting sparkle and details.
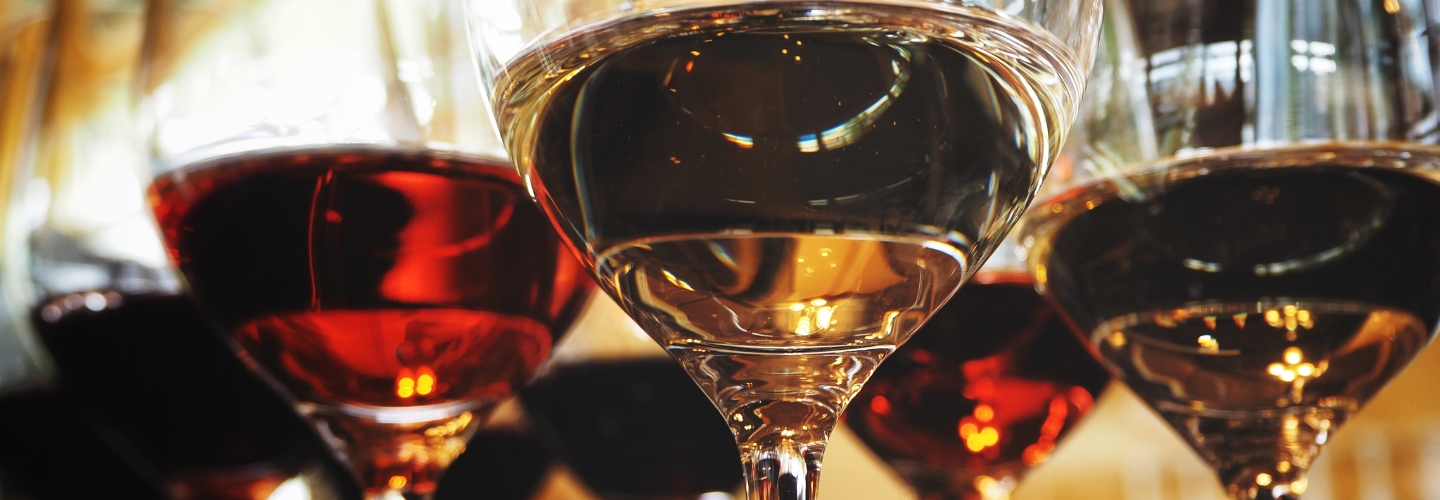
- Glassware: Use black or white cards to control reflections and light the glass from behind to create a glowing effect.
- Metallic Surfaces: Employ diffused lighting and polarising filters. Experiment with angles to minimize reflections.
12. Experiment and Practice
Experimentation and practice are essential for mastering reflective object photography. Try various techniques, lighting setups, and compositions to discover what works best for each object. Continuous practice will improve your skills and understanding of how to control reflections effectively.
Conclusion
Photographing shiny and reflective objects is a challenging but fulfilling endeavor. By understanding reflections, choosing the right equipment, setting up an appropriate studio, and employing specific techniques, you can capture stunning images of reflective items. The key lies in controlling light and reflections to highlight the object’s beauty and details without distractions. With practice and experimentation, you can master the art of reflective object photography and produce high-quality, professional-looking images.